PROCESS — LEVEL — PLAN TO FINISH
Our Interior Design Process
A home is built from the floor up, and we design it in the same order. Five stages take a project from the first conversation to the last cushion, and each one ends with a clear decision before the next begins.
SECTION P–P | LEVEL: DESK | REFERENCE IMAGE

LEVEL — FLOOR
Five stages, each ending in a decision
The order matters. Layout is settled before surfaces, and surfaces before styling, so nothing chosen late forces an earlier decision to be undone. Every stage below sets out what happens, what is useful for you to prepare and what you decide before we move on. Timing and fees depend on the scope of your home and are discussed at the first consultation.
STAGE 01
Consultation and brief
We walk through the home or its plans and talk about how you actually live in it: who uses which rooms, what works now and what doesn’t. The brief records scope, priorities and what stays.
Prepare: plans or measurements, photos of every room, a list of what stays and what goes.
Decide: the rooms in scope, the priorities and a working budget.
STAGE 02
Concept and 3D visualisation
Layout options, a colour and material direction and 3D renders of the key rooms, so you can judge proportion, light and palette on screen before anything is ordered.
Prepare: images of rooms you like and dislike, and notes on what you would change.
Decide: the preferred layout and the palette to develop.
STAGE 03
Design documentation
The approved concept becomes drawings, elevations, joinery details and finish schedules. Builders, cabinetmakers and trades then quote and build from one set.
Prepare: details of any builder you already work with, and any strata or approval requirements.
Decide: sign-off on the drawings before quotes are sought.
NOTE — BUILD PHASE
Stages 04 and 05 run alongside and after the building work. Selections are confirmed against the documented schedule; styling begins once trades have left, so finished rooms are dressed only once.
STAGE 04
Selections
Tapware, light fittings, flooring, hardware and furniture are confirmed piece by piece, with samples reviewed in your own light rather than a showroom’s.
Prepare: time at home to look at samples in morning and evening light.
Decide: final products, and agreed alternatives if an item becomes unavailable.
STAGE 05
Styling
Furniture placement, artwork, lamps, rugs and textiles finish each room. Styling can be done in one visit or staged over time as pieces arrive.
Prepare: the pieces and artwork you want to keep.
Decide: what is bought now and what can wait.
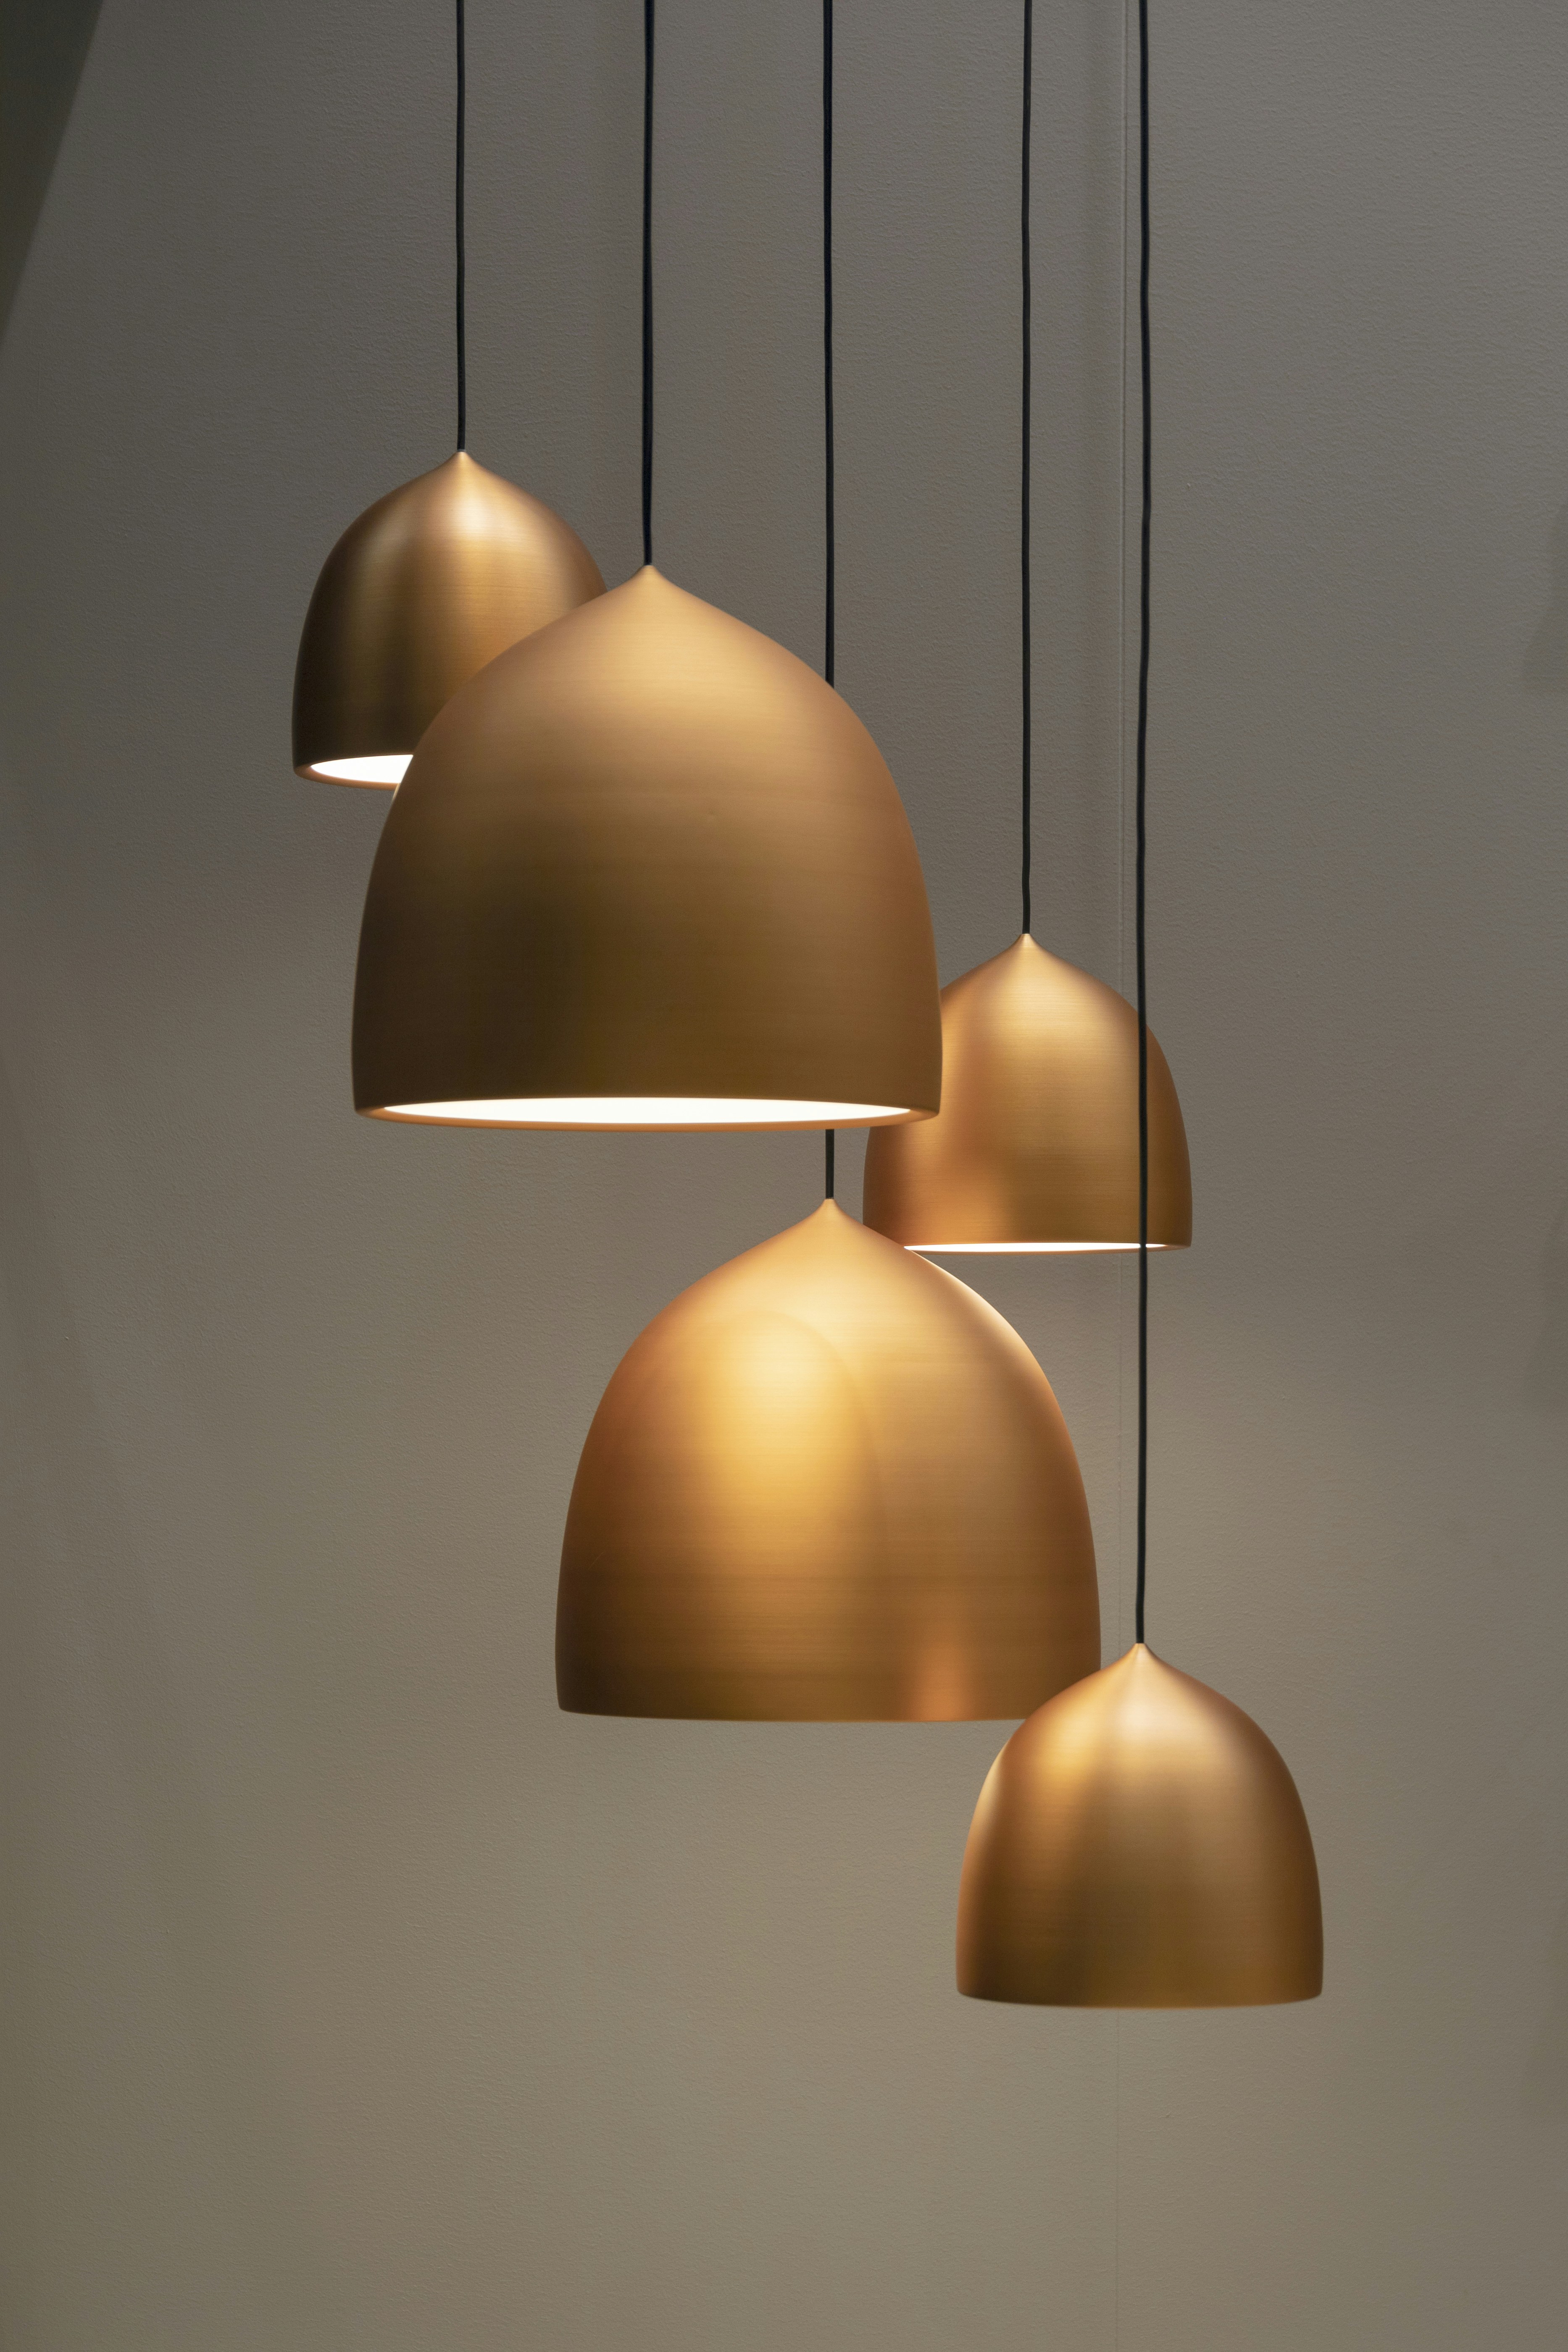
SECTION P–P | LEVEL: CEILING | PENDANTS | REFERENCE IMAGE
LEVEL — WALL
Where your project enters
Not every home needs all five stages. A layout change starts at the floor; a refresh of surfaces or furniture can begin much later in the sequence. The schedule shows the usual starting point by type of work.
Renovation Interior Design — usually all five stages, because walls, services and layout may change.
New Build Interior Design — begins at stage 01 from the architect’s or builder’s plans, ideally before the interior layout is locked.
Apartment Interior Design — stages 01 to 05, with documentation shaped around strata requirements and limited space.
Kitchen Design and Bathroom Design — a focused brief, with most of the work in stages 02 to 04 where plumbing and cabinetry are fixed.
Furniture Selection and Interior Styling — a short brief, then stages 04 and 05 with no building work.
Unsure which applies? Compare every option on the services page, or read what affects interior design costs.
LEVEL — NEXT
Book a Consultation
Stage 01 starts here. Tell us about the home and what is changing, and we will talk through where your project enters the process. General questions can go through the contact page.
BEFORE WE MEET — CHECKLIST
Plans, or rough measurements of each room
Photos of every level: floors, benches, walls and ceilings
What stays and what goes
A few images of rooms you like
A working budget and any strata or approval notes
Further reading: Space Planning: Getting the Layout Right · Planning Interiors for a New Build