JOURNAL — LEVEL — FLOOR TO CEILING
Furniture and Styling: Finishing a Room
Once the plan and surfaces are settled, furniture and styling decide how a room feels to live in. This guide covers furniture scale, layering textiles and art, styling in stages, and keeping the pieces you already love.

SECTION F–F | LEVEL: FLOOR TO LAMP | LIVING | REFERENCE IMAGE
BEFORE YOU BUY — CHECKLIST
01 Measure the room, doorways, stairs and lift
02 Mark windows, power points and heaters on the plan
03 List the pieces staying and the ones going
04 Tape out large pieces on the floor first
05 Note how the room gets used, and by whom
06 Photograph the room in morning and evening light
LEVEL — FLOOR
Choose furniture to scale
Proportion before style.
A good piece in the wrong size spoils a room faster than any colour. Start with the largest item, usually the sofa, bed or dining table, and check it against the room and the paths around it. Leave clear walkways between pieces and room to pull out chairs and open doors.
Height counts as much as footprint. Low sofas suit rooms with modest ceilings. Taller rooms can take a high-backed chair, a tall cabinet or a floor lamp that draws the eye up. Rugs should be big enough for at least the front legs of the seating to sit on them. A rug that floats in the middle of the floor makes a room look smaller.
If the layout itself is the problem, sort that out first. Our space planning guide covers circulation and zoning, and Furniture Selection sizes each piece against your floor plan before anything is ordered.
LEVEL — WALL
Layer textiles and art
Textiles
Mix weights and weaves: linen next to wool, boucle next to leather. Keep a few base tones and let texture do the work. In bright Sydney rooms, lined curtains soften glare and protect upholstery from fading.
Art and objects
Hang art in relation to the furniture beneath it, not the ceiling. Choose one larger work over a scatter of small frames, and group objects in odd numbers with varied heights. Leave some surfaces empty. See colour palettes for Sydney light for the backdrop.
LEVEL — CEILING
Style in stages
STAGE 01
Anchor pieces
Sofa, bed, table and rug. These set scale and budget, so buy them first.
STAGE 02
Soft layer
Curtains, cushions and throws. Live with the anchor pieces for a few weeks before you choose.
STAGE 03
Light and walls
Lamps and art, placed once the furniture has settled. Read about layered lighting.
STAGE 04
Final edit
Books, vessels and plants, then take things away. Interior Styling handles this last pass.
LEVEL — WHAT STAYS
Mix in existing pieces
Few rooms start from nothing. An inherited armchair, a vintage sideboard or a well-worn rug brings a history that new furniture can’t. Decide which pieces are worth keeping, then plan around them rather than hiding them.
Link old and new through one shared thread: a timber tone, a metal finish or a colour repeated in textiles. Reupholstering a good frame is often the simplest way to make it fit a new palette. Mix in no more than a few eras, and give the strongest piece space so it reads as deliberate.
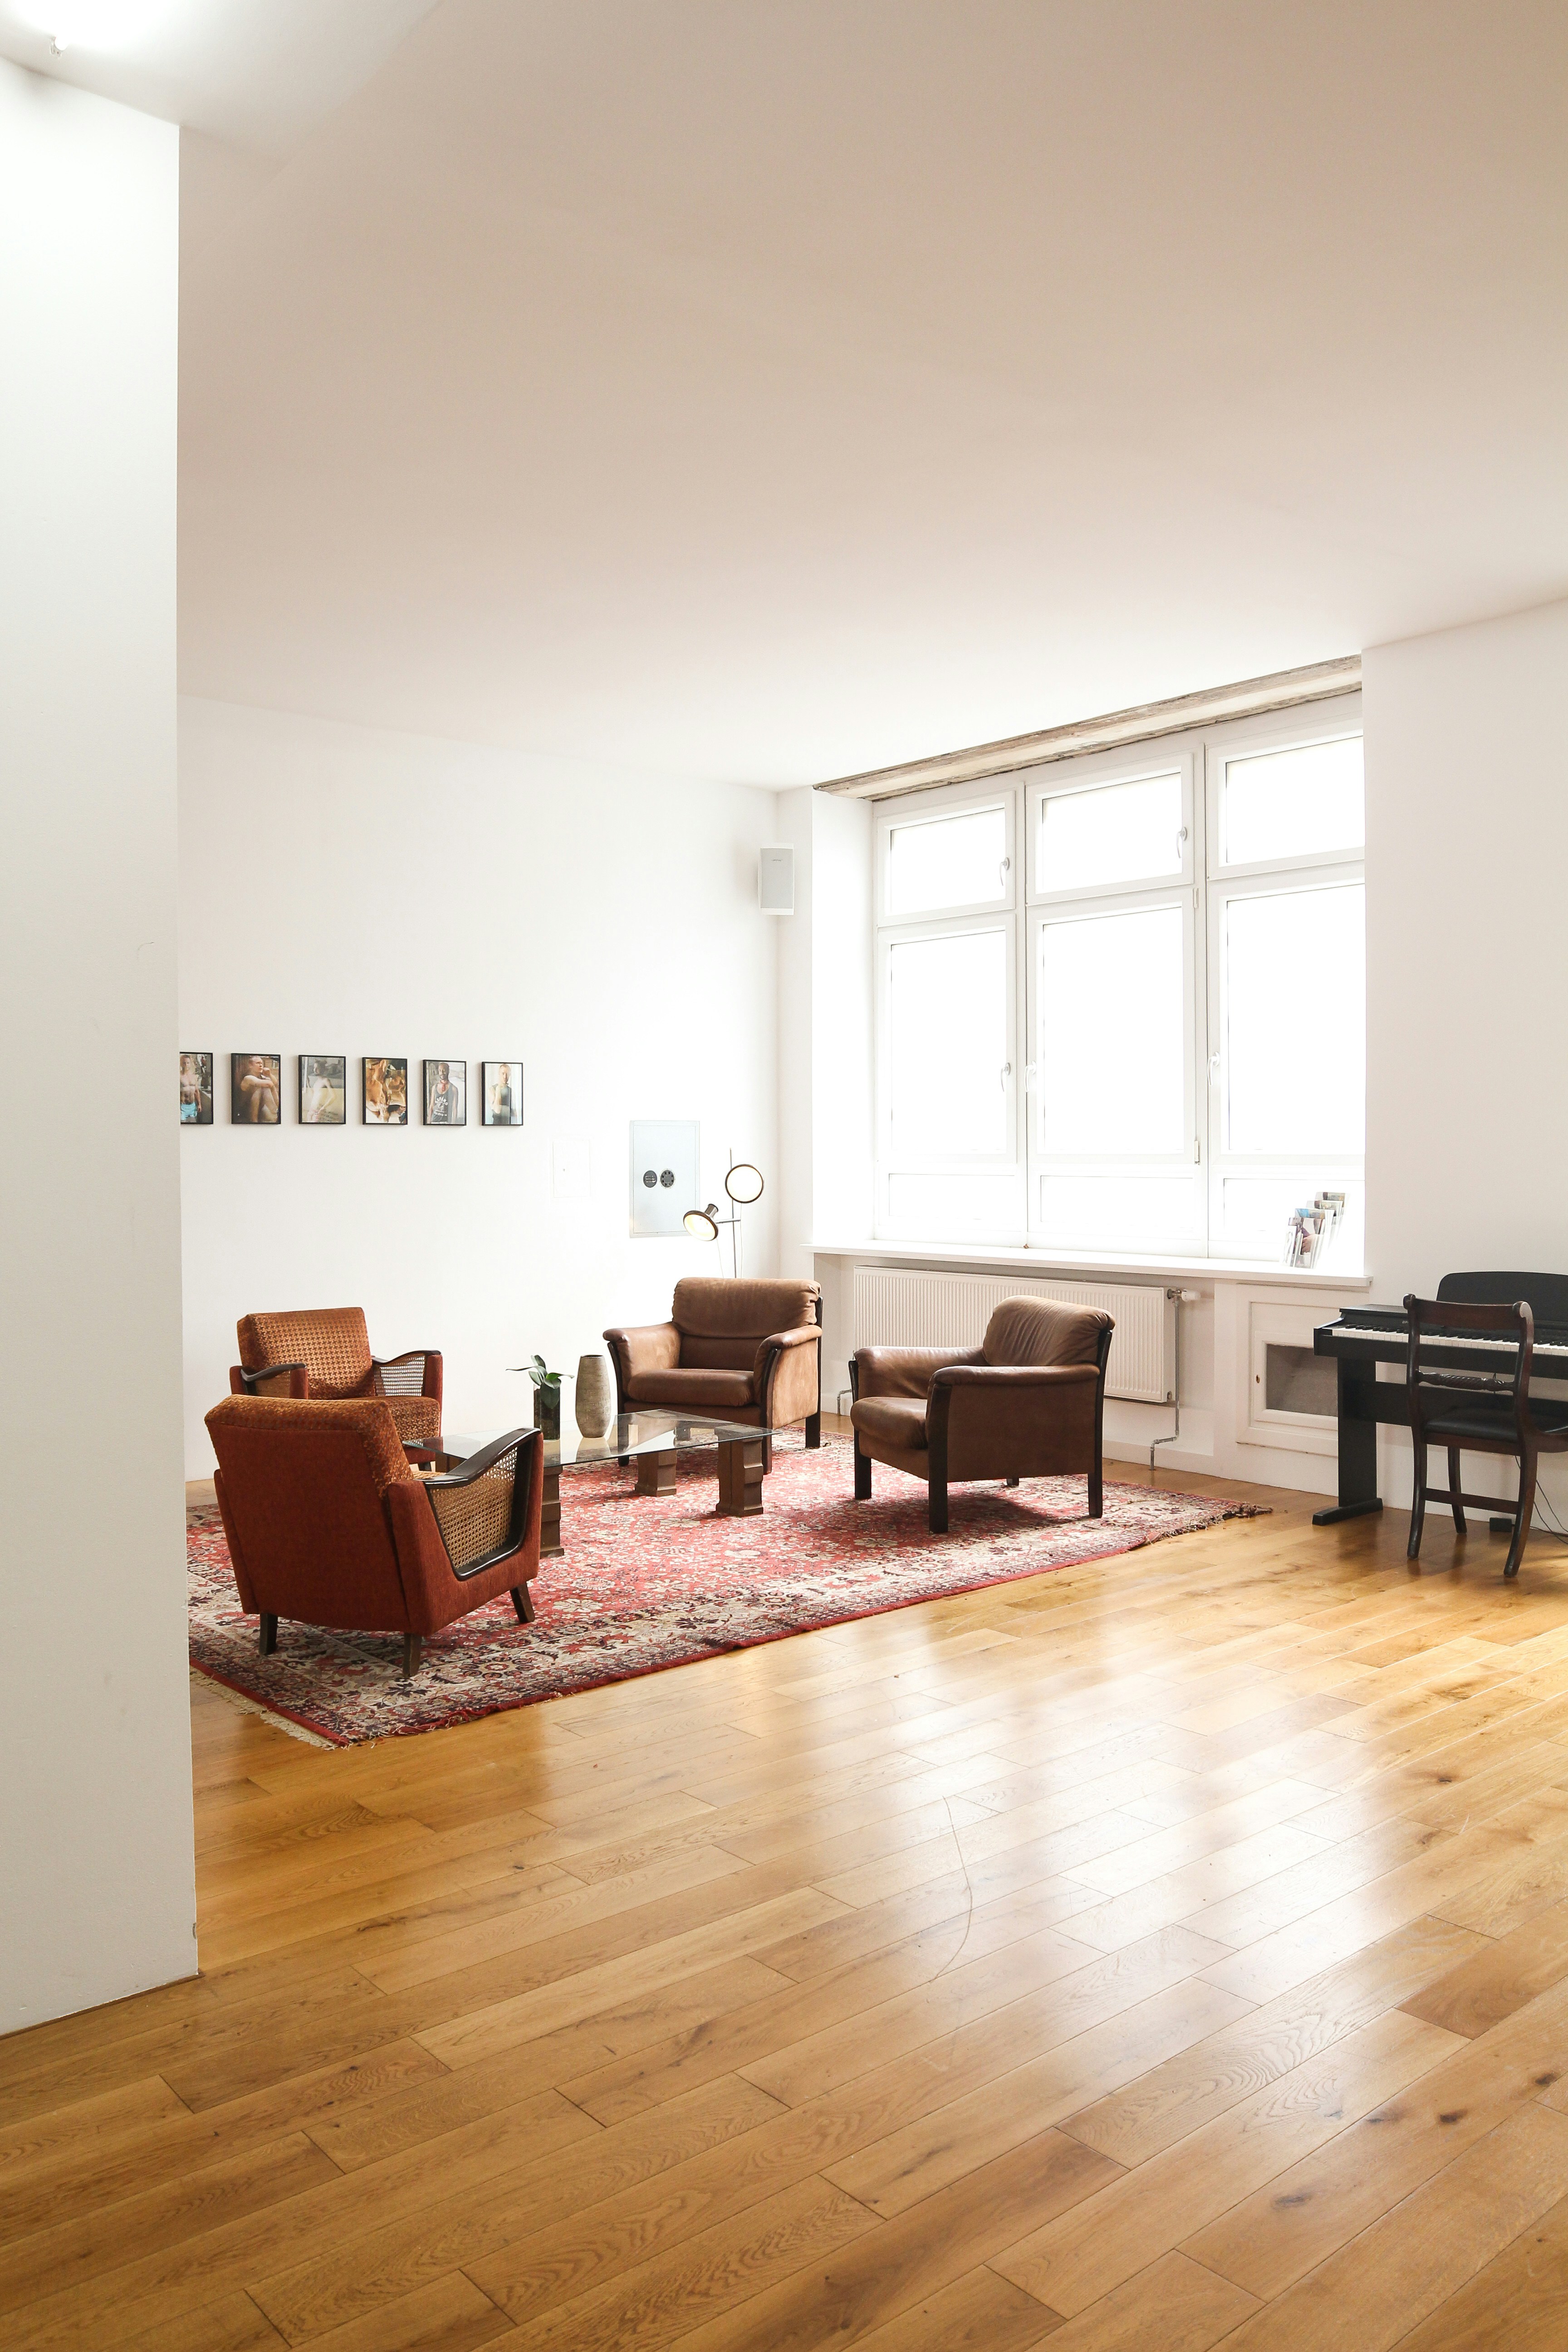
SECTION V–V | LEVEL: FLOOR TO SEAT | MIXED ERAS | REFERENCE IMAGE
LEVEL — NEXT
Finish the room with us
Bring your checklist and a few photos to a consultation. Questions first? Use the contact form.
RELATED READING AND SERVICES