JOURNAL — LEVEL — BENCH TO CEILING
Custom Joinery and Built-In Storage Ideas
Built-in joinery is cabinetry made for one wall, alcove or room instead of bought to fit. Done well, the storage disappears into the building. This guide goes through the home room by room, then covers the materials and drawings that decide how long the joinery lasts.
SCHEDULE OF BUILT-INS — 01 TO 05
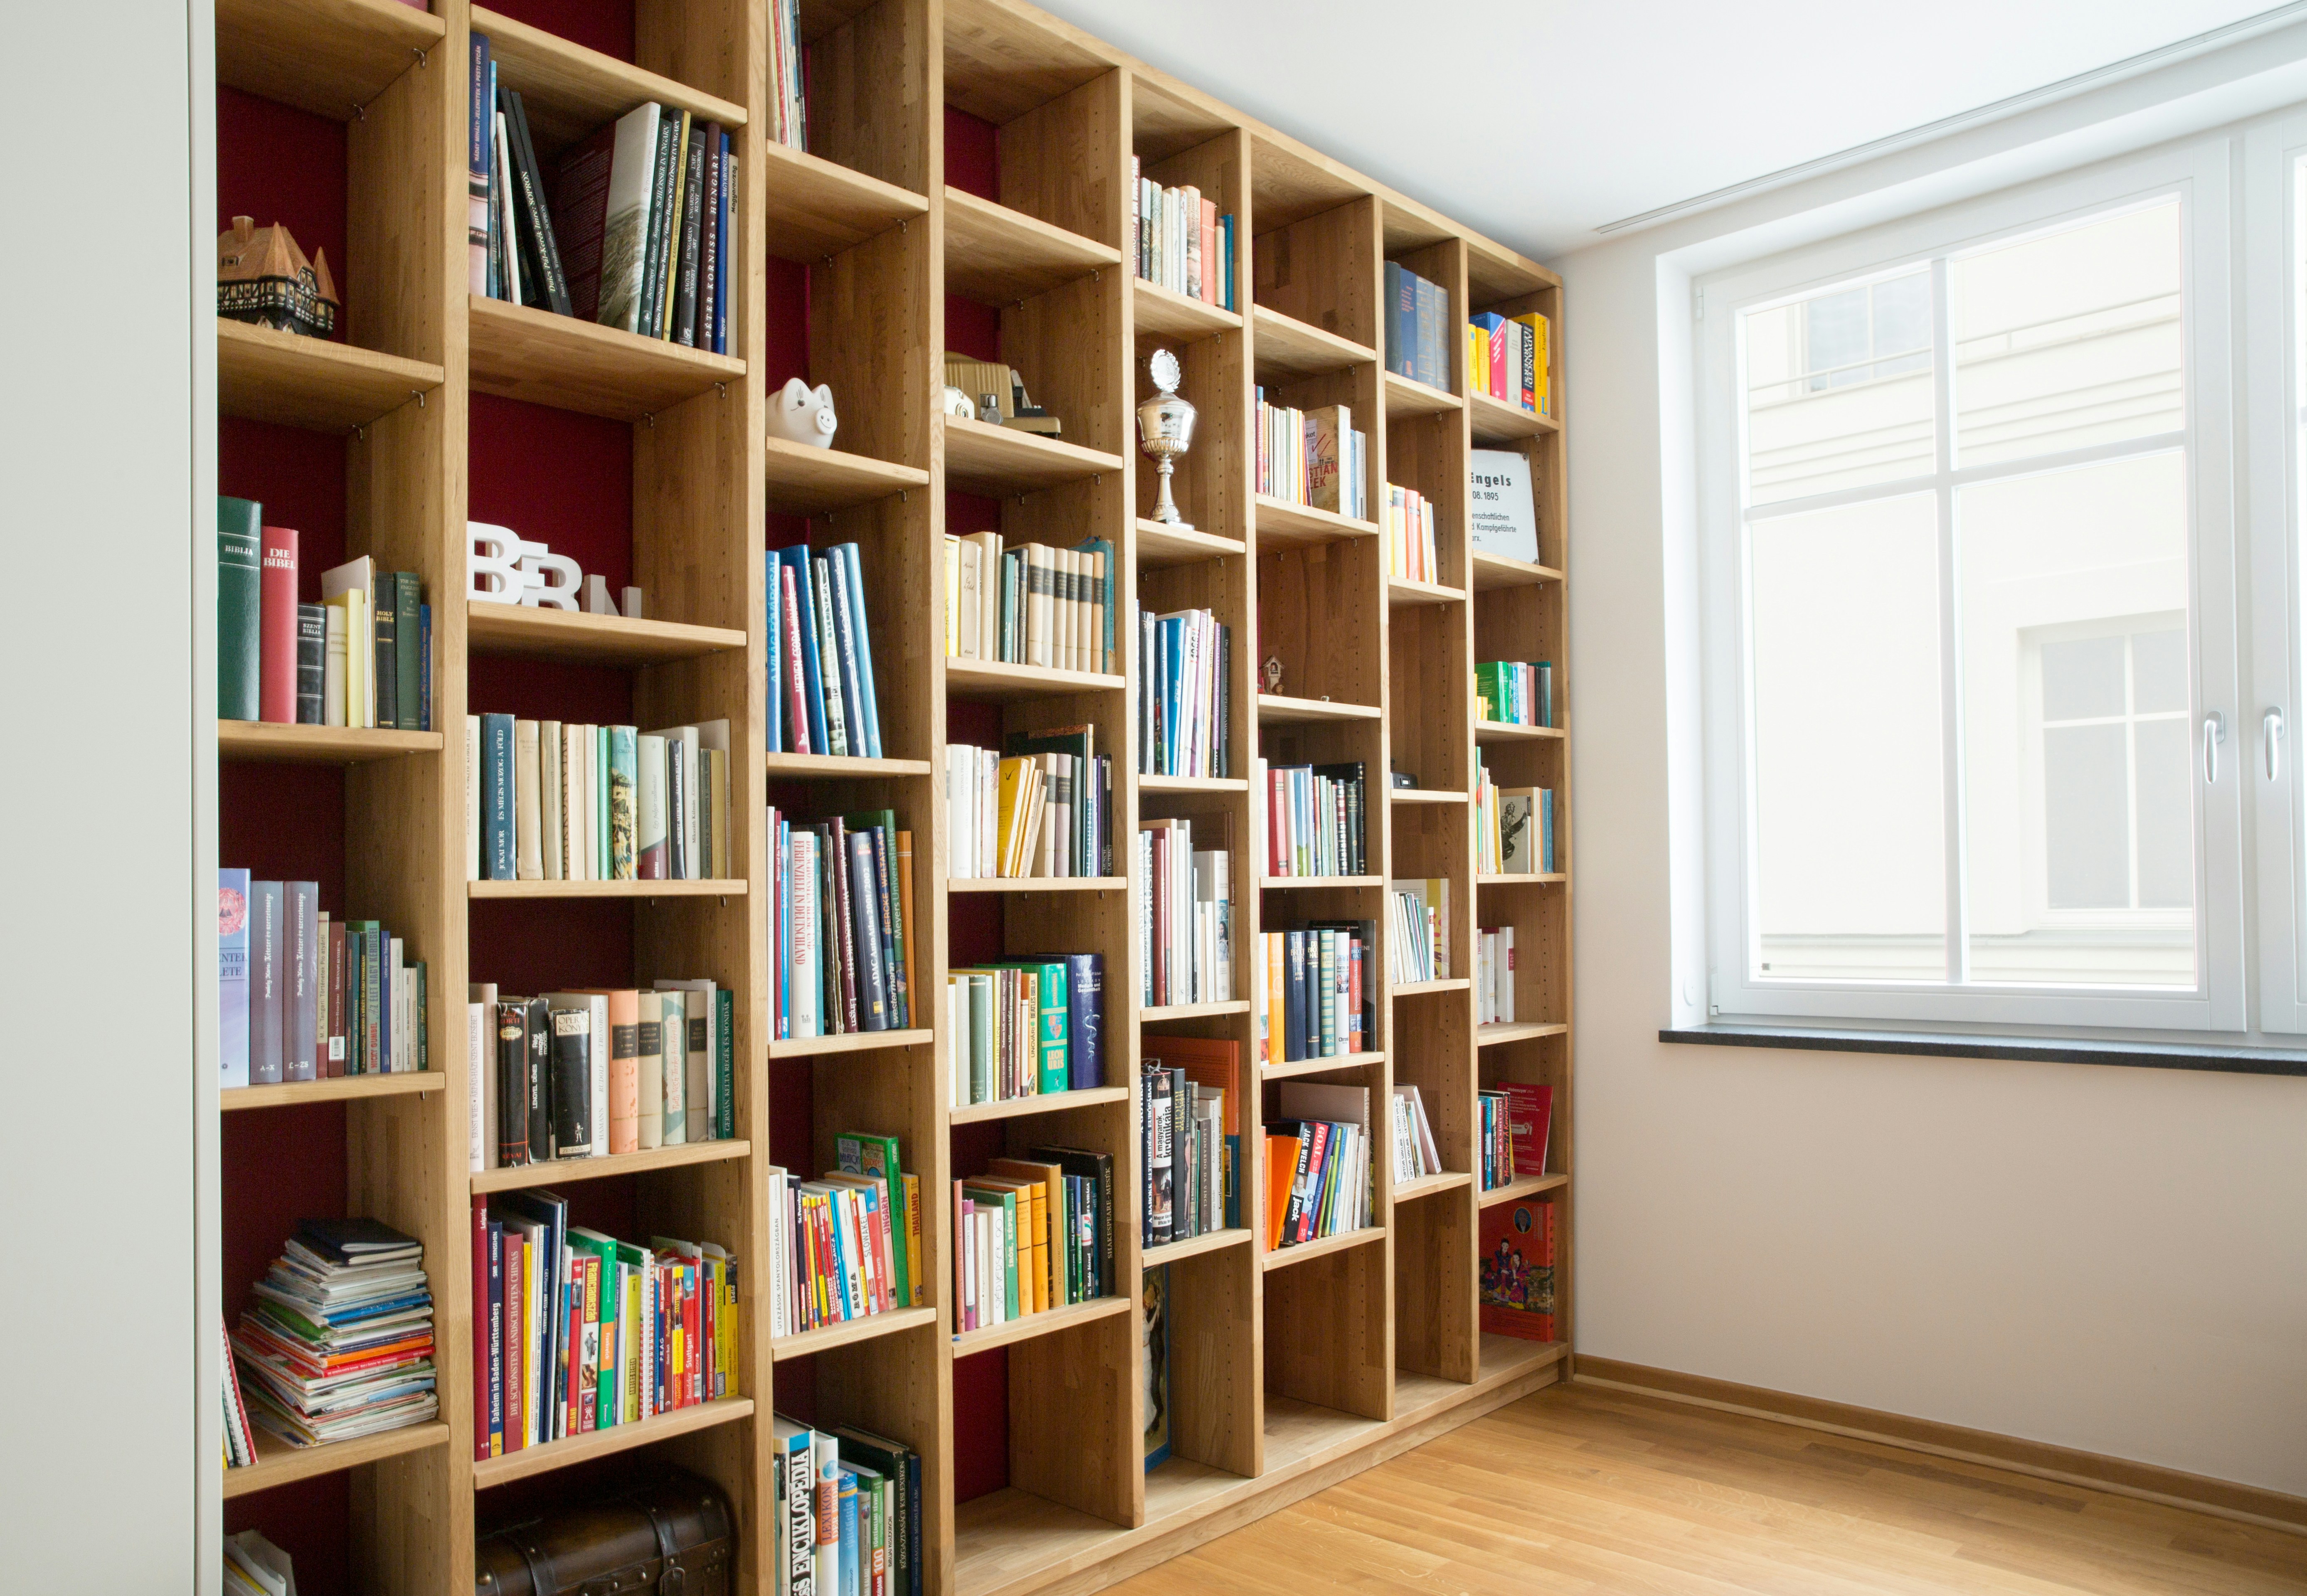
SECTION L–L | LEVEL: FLOOR TO CEILING | BUILT-IN SHELVING | REFERENCE IMAGE
LEVEL — FLOOR · 01 ENTRY
Entry storage
Plan for what comes through the door, not for how the hallway photographs.
Clutter usually starts at the entry. Shoes, bags, keys, umbrellas and school packs all arrive at once. A shallow run of cabinetry with a bench seat, a drawer for keys and mail, and a ventilated shoe cupboard keeps that load off the floor and out of the living areas.
In Sydney terraces with narrow hallways, the space under the stairs is often the best place for storage. Deep pull-out drawers work better there than a single dark cupboard. In apartments, one full-height cupboard beside the door can hold the vacuum, coats and a charging shelf. Before the carpenter starts, decide where power goes and whether the doors need to sit flush with the wall.
LEVEL — WALL · 02
Wardrobes and studies
Wardrobes
Plan a wardrobe around what you own: long hanging, short hanging, folded shelves and drawers. Doors that run floor to ceiling avoid a dusty shelf on top. In older homes with cornices and walls that aren’t square, scribed panels let the joinery meet the room cleanly. Internal lighting and drawer inserts are easy to include at the design stage but awkward to add later.
Studies
A built-in study works when the desk depth, cable routes and power points are worked out together. In apartments, a desk can be built into a joinery wall next to the living area, with doors that close off work at the end of the day. Place the screen so it doesn’t face a bright window, and plan closed storage for paper so the desk stays clear. For small spaces, see Apartment Interior Design.
LEVEL — BENCH · 03 LIVING
Living-room units
Living-room joinery includes media units, window seats and alcove shelving. In a Federation or Victorian home, cabinetry on both sides of a fireplace can restore the room’s symmetry. In a new build, one long low unit can anchor an open-plan space.
Leave ventilation for equipment, hide the cables, and balance open shelves with closed storage so the unit doesn’t turn into a display you have to keep tidy. Kitchens follow the same principles, with appliances and plumbing to work around too. Kitchen Design covers that side.

SECTION M–M | LEVEL: WALL | FIREPLACE JOINERY AND NICHE | REFERENCE IMAGE
LEVEL — SURFACE · 04
Material choices
Choose finishes by how much wear each surface gets. Materials are chosen alongside the room’s palette in Colour & Material Selection.
Painted finish
Smooth and easy to match to the walls. Edges that get handled a lot can chip, so painted doors suit upper cabinets and quieter rooms best.
Timber veneer
Real timber grain on a stable board. It brings warmth to studies and living rooms. If you want the grain to run continuously across doors, include that in the specification.
Laminate and solid timber
Laminate is hard-wearing inside wardrobes and laundries. Save solid timber for edges, handles and seats that get touched every day, and allow for the timber to move.
LEVEL — NEXT · 05
Before it's built
Joinery is expensive to change once it’s made, so settle these points on paper first:
Measure what each cupboard needs to hold, item by item
Confirm power, data and lighting positions inside the units
Choose door styles, handles or push-to-open hardware
Specify finishes, edges and grain direction
Get elevations and details a joiner can quote and build from
This is the purpose of Design Documentation. The design itself is covered in Custom Joinery Design. For other questions, use the contact form.