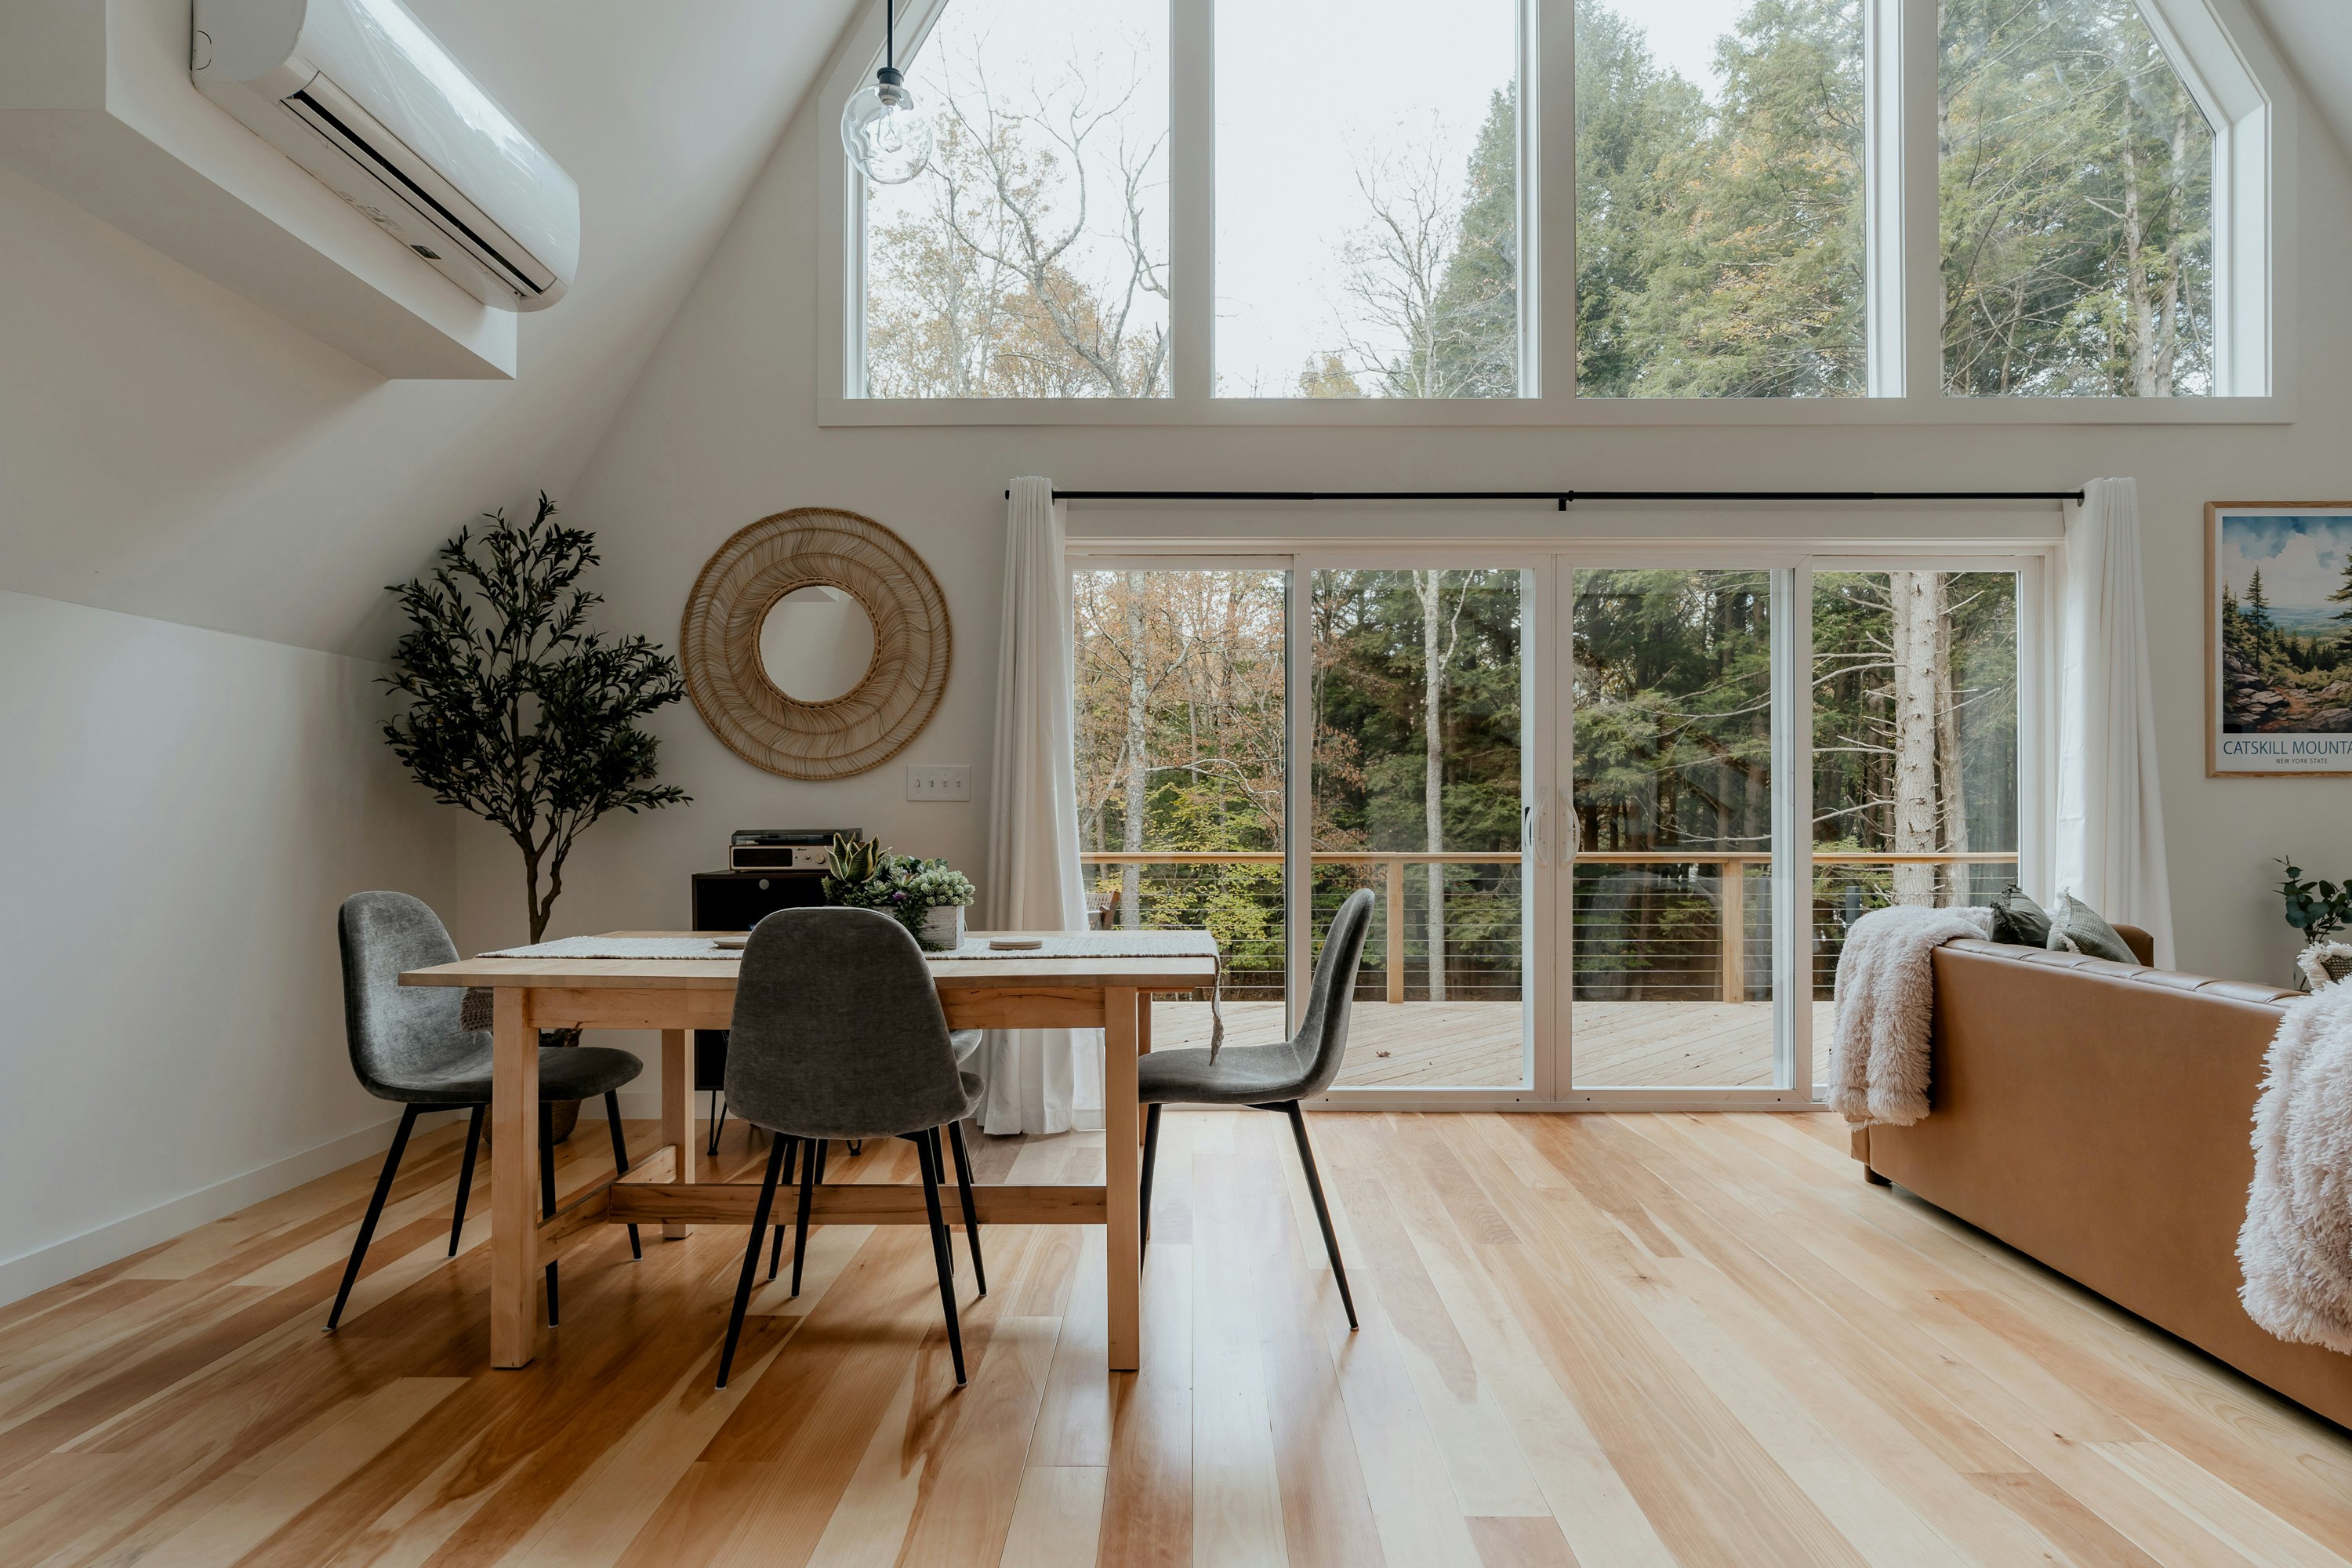
SECTION D–D | LEVEL: FLOOR TO CEILING | REFERENCE IMAGE
14 — LEVEL — FULL SECTION
3D Interior Visualisation Sydney
See the room before anything is ordered or built. 3D interior visualisation turns a floor plan, a material palette and a lighting scheme into renders we review together, so layout and finish decisions are made on screen rather than on site.
LEVEL — PLAN TO PICTURE
When a render earns its place
Visualisation suits homeowners who find drawings hard to read, households deciding together, and anyone committing to building work where a mistake is costly to undo.
Layout changes. Moving a wall, turning a kitchen or opening two rooms into one is hard to picture from a plan. A render shows sightlines, proportions and how the space reads from the doorway. Space Planning
Homes still on plans. When the house doesn’t exist yet, renders stand in for a walk-through, helping settle joinery, ceiling details and finishes before the builder locks them in. New Build Interior Design
Material combinations. Stone beside timber beside a painted wall can feel different at room scale than on a sample board. A render tests the balance of the whole palette. Colour & Material Selection
Shared decisions. Two people can picture two different rooms from the same drawing. One image gives everyone the same reference point, from kitchens to lighting and finishes.
LEVEL — CONCEPT STAGE
How visualisation fits the concept stage
STAGE 01
Base model
The room is modelled from your plans or measurements, including windows, doors and ceiling heights.
STAGE 02
Concept views
Layout and key materials are shown in selected views, so options can be compared side by side.
STAGE 03
Refinement
Your feedback goes back into the model: a bench moved, a tone lightened, a pendant resized.
STAGE 04
Into documentation
Agreed views sit beside the Design Documentation: trades build from drawings, with renders as the visual reference. See the full design process.
LEVEL — BENCH · SAMPLE TABLE
Screen and sample

LEVEL: BENCH | MATERIAL SAMPLES ON A WORKTABLE
What a render shows well
Proportion, layout and circulation
How materials sit together at room scale
Light direction and fitting positions
Whether furniture fits the space
What only a sample shows
True colour in your own daylight
Texture, sheen and how a surface feels
Natural variation in stone and timber
Colour that screens cannot reproduce exactly
Renders set the direction and samples confirm it. Both are used before a selection goes into the schedule.
Do I need renders for every room?
No. Renders are most useful where a layout changes, where several materials meet in one view, or where the home is still on plans. Simpler styling updates can usually be resolved with samples and a mood board.
Will the renders look exactly like the finished room?
They are built to show layout, proportion, material and light closely enough to make decisions. Screen colour varies between devices, so physical samples confirm final selections.
What do you need to start?
Floor plans or accurate measurements, photos of the existing space and any selections already made. For a new build, the architectural plans are the starting point.
Does it work alongside other services?
Yes. Visualisation sits within the concept stage and pairs naturally with Kitchen Design, Renovation Interior Design and Residential Interior Design.
LEVEL — NEXT
See it before it's built
Bring your plans or measurements and photos of the space. Questions first? Use the contact page.
RELATED SERVICES
07 Space Planning: set the layout the renders test
11 Colour & Material Selection: confirm the palette in real samples
03 New Build Interior Design: resolve interiors while the home is on plans
Further reading: Planning Interiors for a New Build · Space Planning: Getting the Layout Right