JOURNAL — LEVEL — CEILING
Layered Lighting for Sydney Homes
A room lit from one source looks flat. A room lit in layers can be bright for cooking at six and calm for reading at ten. This guide covers the three layers of light, where to put pendants and downlights, and how colour temperature and dimming change the way a Sydney home feels after dark.
LEVEL — CEILING TO BENCH
Three layers, three jobs
Good lighting plans treat light as three separate layers. Each one gets its own fittings and ideally its own switch.
01 — AMBIENT
The general wash
Ambient light fills the room evenly so you can move around safely. It usually comes from downlights, ceiling fittings or indirect light, such as an LED strip hidden in a bulkhead. On its own it flattens a room. Think of it as the base the other layers sit on.
02 — TASK
Light where work happens
Task light is aimed at a job: the kitchen bench, the vanity mirror, a desk or a reading chair. It should fall in front of you, not behind, so you don’t shade your own work. Common examples are strip lights under wall cabinets and wall lights on either side of a mirror.
03 — ACCENT
Depth and contrast
Accent light gives a room depth. Lit shelving, picture lights, a wash across a textured wall and lamps at low level all create contrast. That draws the eye and helps a large room feel intimate in the evening.
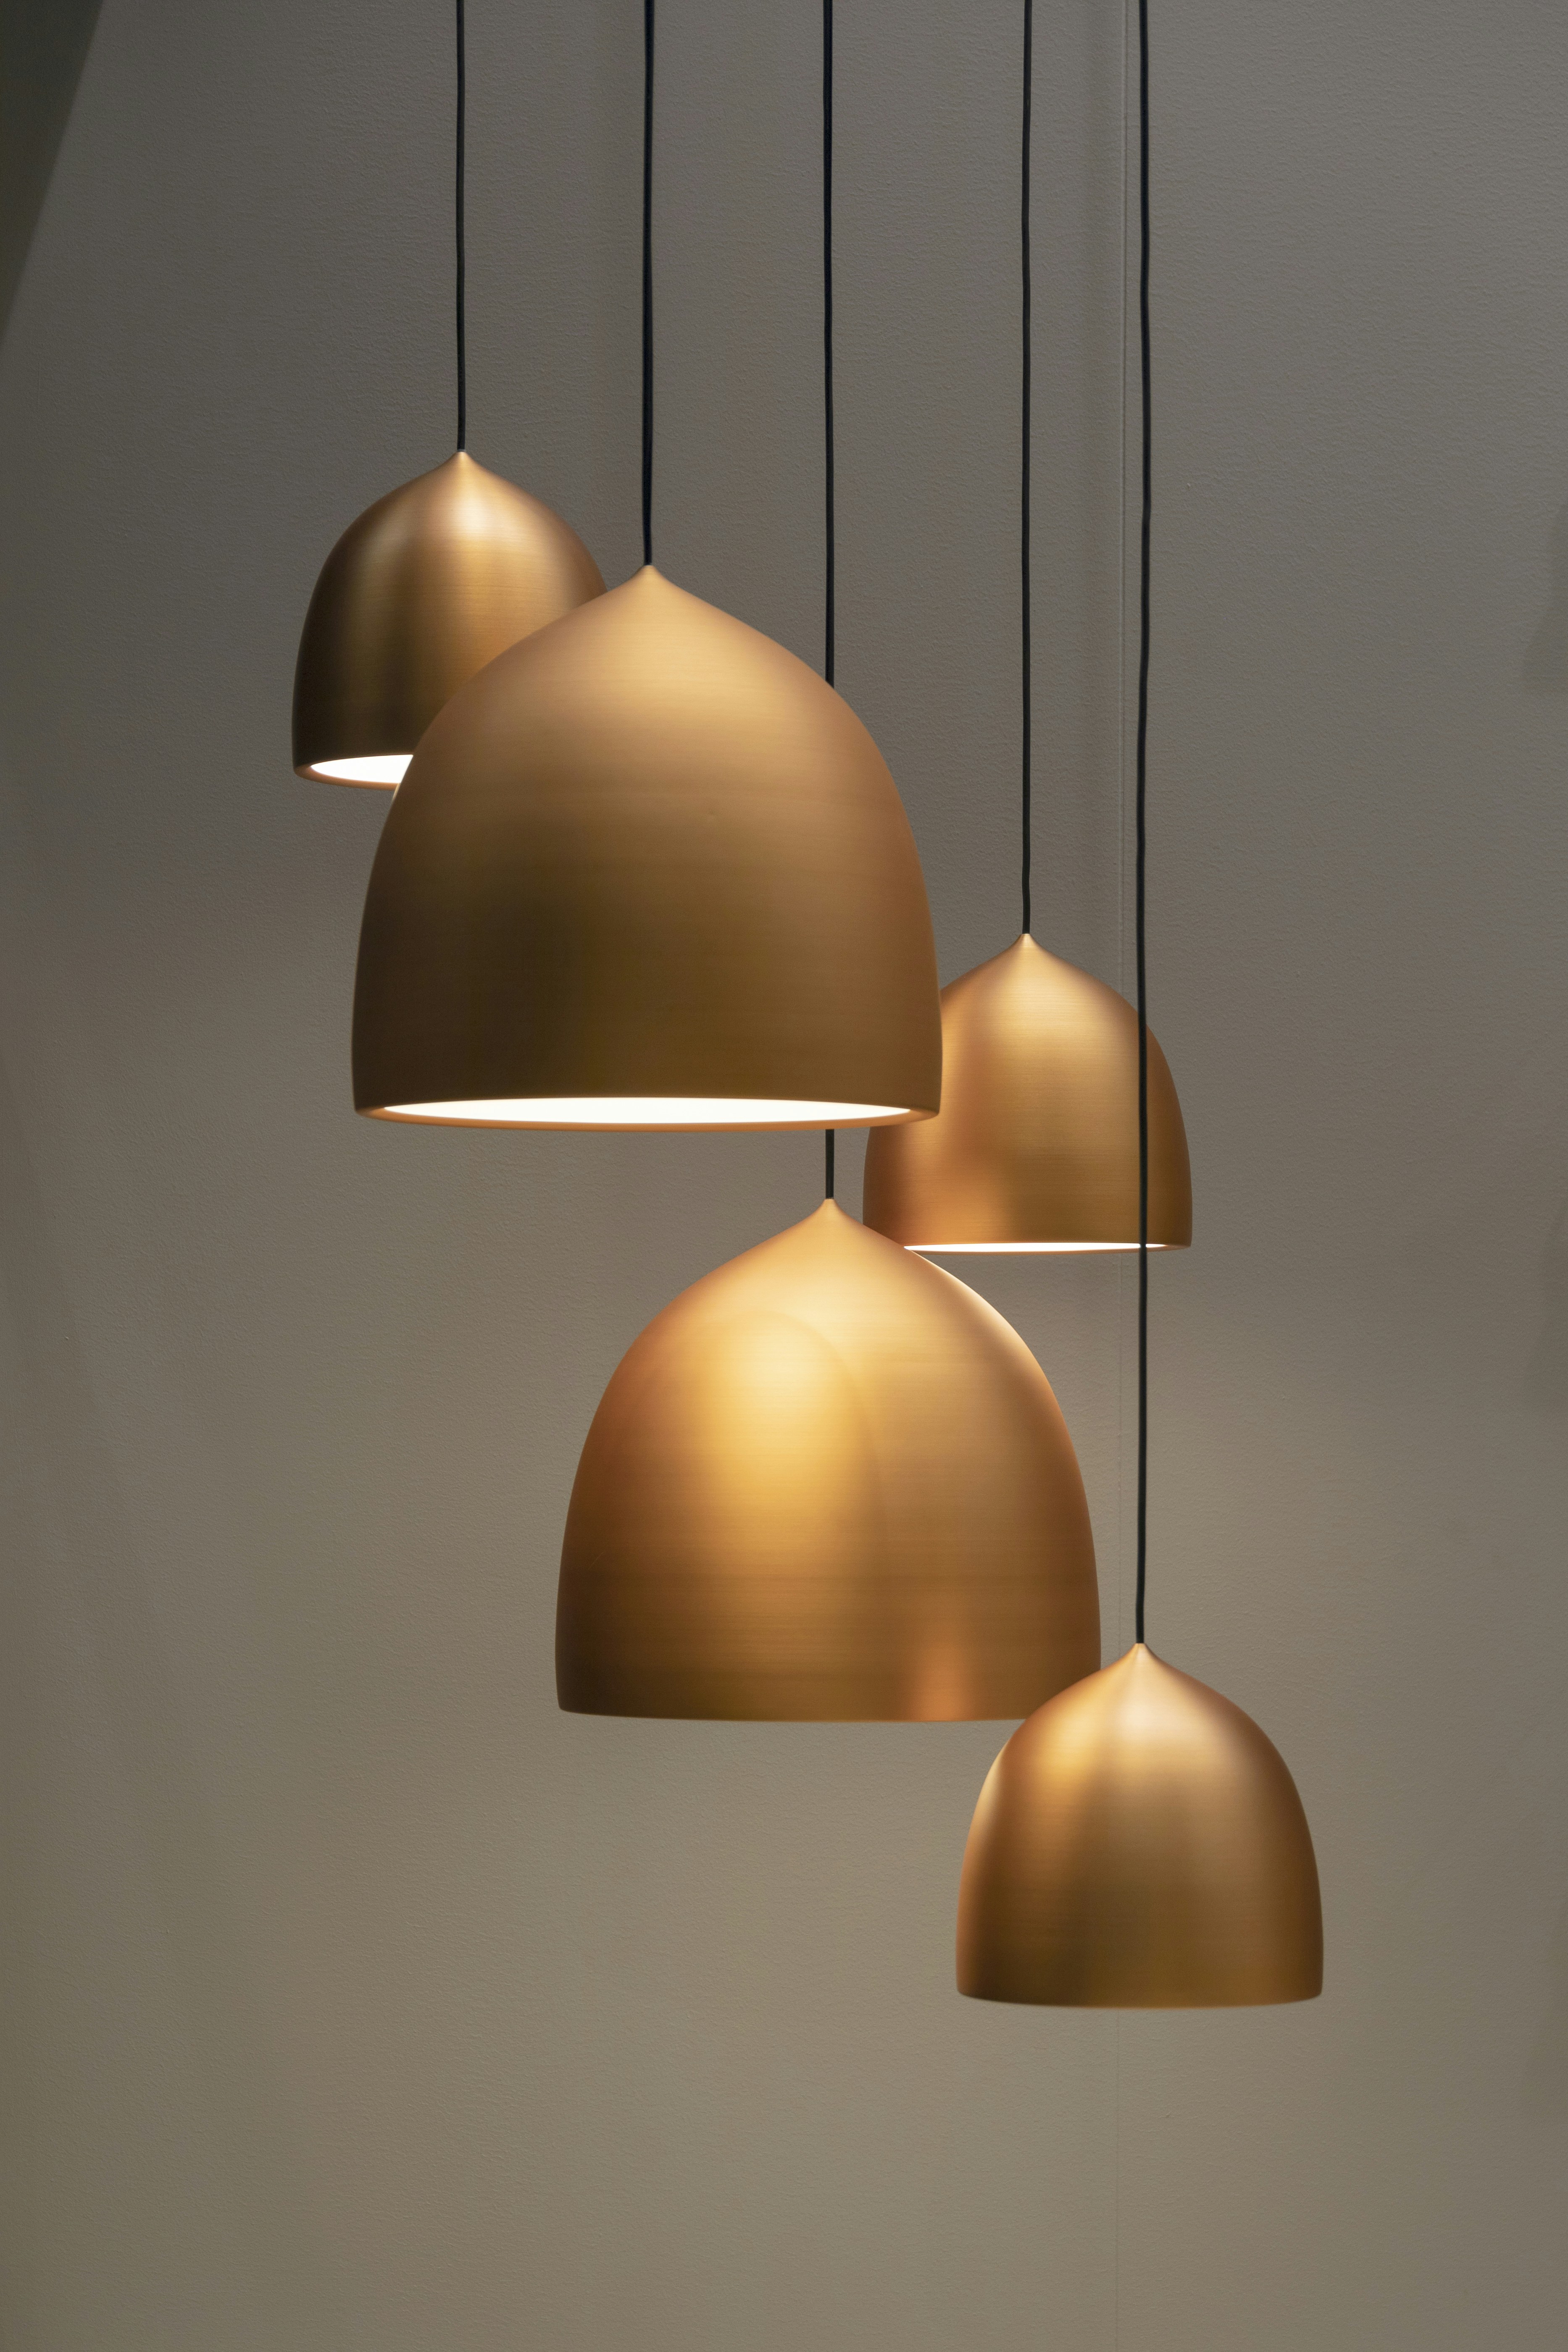
SECTION L–L | LEVEL: CEILING | PENDANT GROUP | REFERENCE IMAGE
LEVEL — CEILING
Pendants and downlight placement
Ceiling positions are set early, often before the plasterboard goes up, and moving them later means patching and repainting. Plan them from the furniture layout, not the ceiling grid. In kitchens, pendants and bench lighting are designed together with the island as part of Kitchen Design.
Light the furniture, not the floor
A neat grid of downlights often lights the empty floor between the sofa and the table. Place fittings over the benches, tables, artwork and chairs, which means settling the layout first.
Set back from the walls
Downlights placed too close to a wall throw hard scallops of light down it. Pull them back to wash the surface evenly. A tight scallop only works when you want it, for example to graze stone or timber panelling.
Hang pendants to the surface below
Over an island, pendants should light the bench without blocking the view across the room. Over a dining table they can hang lower and give warmer light. Choose the size and number of pendants to suit the length of the surface, not the size of the ceiling.
Keep glare out of sightlines
Where you look up, such as beside a sofa, over a bed or above a bath, choose fittings with deep-set or shielded globes so you see the light, not the source.

SECTION W–W | LEVEL: WALL TO CEILING | LIT NICHE | REFERENCE IMAGE
LEVEL — WALL TO CEILING
Colour temperature and dimming
Colour temperature is measured in kelvin. Lower numbers, around 2700K, look warm and golden. Around 3000K is still warm but crisper, and 4000K looks neutral to cool. Living areas and bedrooms usually suit warm light. Some people like slightly cooler light at a kitchen bench or in a laundry. Keep one temperature within each room, or the fittings will look mismatched. Also look for a high colour rendering index (CRI), so timber, stone and paint look true. This matters when you’re choosing a palette.
Clear where you work, soft where you rest.
Dimming lets one room work for both day and evening. Put each layer on its own switch or circuit so you can balance ambient, task and accent light separately. Check that the globes, drivers and dimmers work together, because mismatched parts can flicker or hum. Sydney daylight matters too. A north-facing living room may need very little artificial light during the day, while south-facing rooms and deep apartment plans rely on it for much longer.
LEVEL — BEFORE WIRING
Settle these before the electrician starts
01 A furniture layout for every room being wired
02 The tasks each bench, mirror and desk needs light for
03 Separate switching for each layer, and where the dimmers go
04 One colour temperature for each room
05 Pendant positions checked against the island or table
06 Joinery and feature walls that need accent light built in
RELATED READING — INDEX
Lighting & Finishes SERVICE 12
Kitchen Design SERVICE 05
Planning a lighting scheme as part of a renovation or new build? Book a Consultation, or send a question through the contact form.